How do I add the chosen date and time to the order confirmation/thank you page?
[Updated 2024] Adding the checkout UI app block
Note: You must be using the new Checkout/Customer Accounts to utilize this extension. You can learn more about the upgrade process here.
Bloom has a checkout app block available to show the customer their chosen delivery/pick-up date and time on both the Thank You and Order Status pages (within the new customer accounts dashboard).
We recommend adding this app block to ensure the customer can review their selected delivery/pick-up information at any time by viewing their order.
Here are some instructions for adding the app block:
- From your Shopify admin, click Sales Channels > Online Store > Themes
- Click Customize next to the theme you wish to edit
-
Change the template from Home page to Checkout and new customer accounts (if this option isn't available to you, you may need to upgrade your store to use the new checkout extensibility features)

- Change the template again to Thank you
-
Use the theme editor to Add app block (either in the sidebar sections or at the bottom depending on your setup)

- Select Bloom - Customer Date Info from the list
- Use the provided tools to place the block where you want it to appear (either click the provided options, or drag and drop the app block to move it up and down).
- Repeat steps 4-7 but change the template to Order status
- Position the app block where you want it to appear on the Order status page
- Click Save to publish your changes and make them live


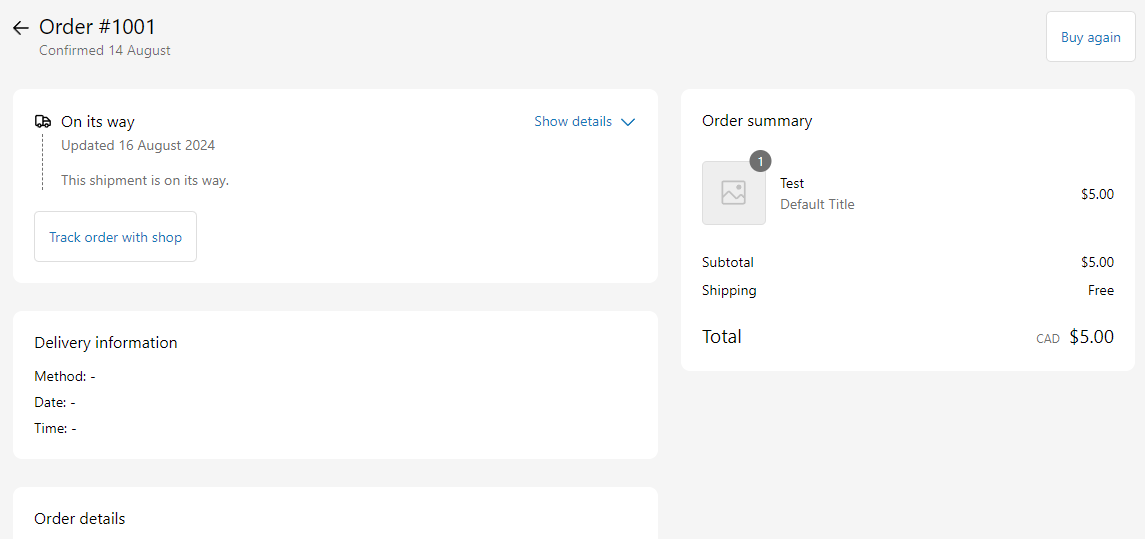
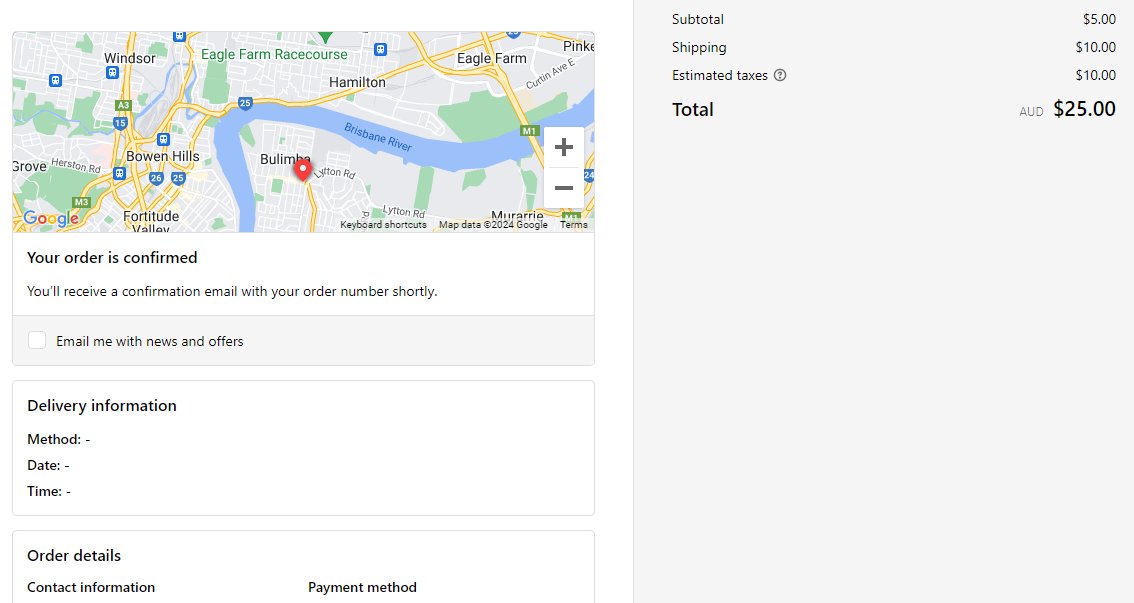
You should now be able to make a test order yourself to check everything is correct, or open a previously placed order's status page.
Some additional things to note:
- The theme editor will show an example preview with blank values. The real app block will show the order date/time information (if relevant), or it won't render at all if it's not a Bloom order.
- You can override the labels used in the app block by clicking on it and editing the settings shown if you wish to translate it or change the wording.
[Legacy] Using additional scripts
Note: This method is now deprecated and will no longer be available in Shopify starting 6 January 2025. Please upgrade to use Checkout Extensibility as soon as possible, and implement the new Bloom checkout app block to show this information to customers post-purchase.
Here's how to add the date and time selected by your customers to the order confirmation/thank you page after they place their order.
- From your Shopify admin, click Settings
- Click Checkout
- Scroll down to the section labelled Order status page
- Copy and paste the following code into the Additional scripts box (if there is already existing code in there, make sure to paste this code above or below it):
- Click Save.
All new orders and existing order status pages will now include the date and time the customer chose (if one was chosen). You are free to modify the code provided to suit your needs and page layout if you're familiar with HTML.
You should be able to make a test order yourself to check everything is correct, or open a previously placed order's status page.
If you have any questions with this process or get stuck, contact our support team through your Bloom app and we can assist you with adding this code.